
This guide describes how to create a new distribution list within your Real World Technology Solutions Hosted Exchange email environment.
A distribution list can contain a number of mailboxes and mail contacts within you email domain, and has a unique email address of its own - that when messages are sent to it, will forward copies to everyone within the list.
To create a distribution list, you will need to know your email domain's management account username and password. The username and the management interface URL has changed from the previous email hosting service, but the password remains the same.
Email management account information
| Previous Email System | Real World Technology Solutions Hosted Exchange | |
| Mailbox Management URL | https://secure.rwts.com.au/cgi-bin/qmailadmin | https://console.exchange.thecore.net.au |
| Mailbox Management Username | postmaster@youremaildomain.com | Your email domain without prefixes or postfixes. For example, if your email domain is @youremaildomain.com, your username is simply youremaildomain |
| Mailbox Management Password | The password for the postmaster@youremaildomain.com email address. | The password for the previous postmaster@youremaildomain.com email address. |
To create a new distribution list
- Open your favourite web browser and navigate to: https://console.exchange.thecore.net.au. A Control Panel Login page will appear.
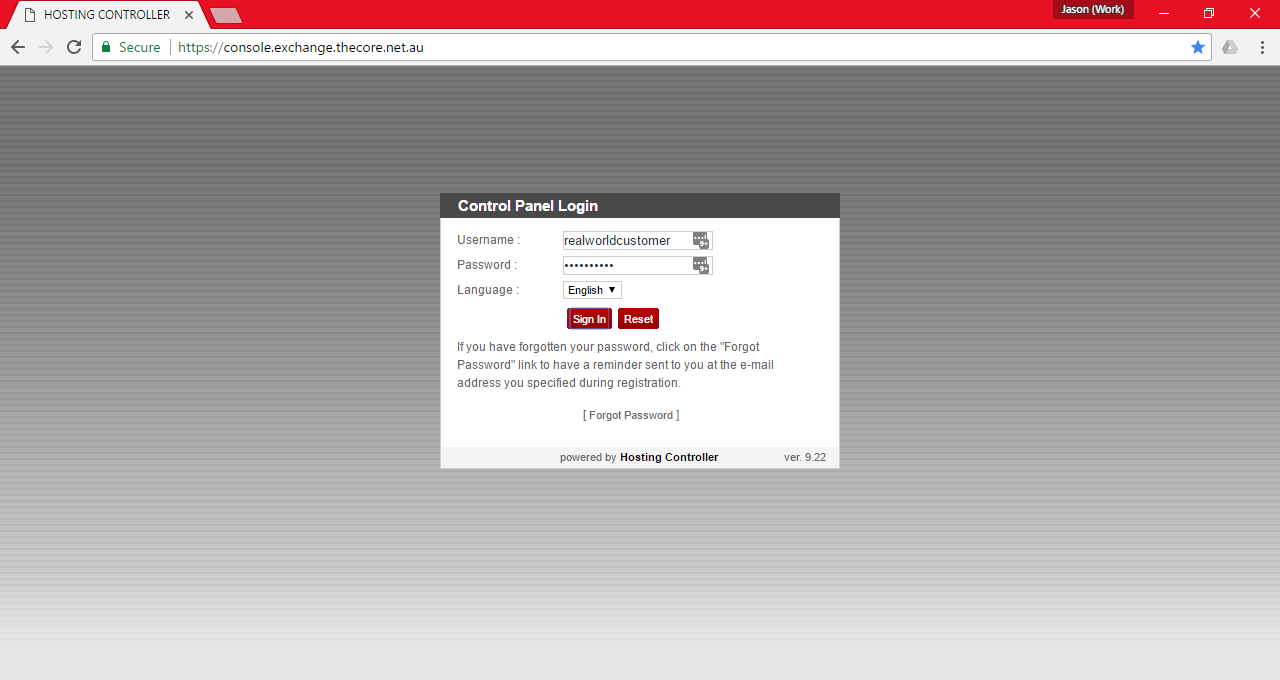
- Enter your Real World Technology Solutions Hosted Exchange Mailbox Management Username, and password in the appropriate fields, and then click the Sign In button. Once done, the interface will display your email organisations management interface.
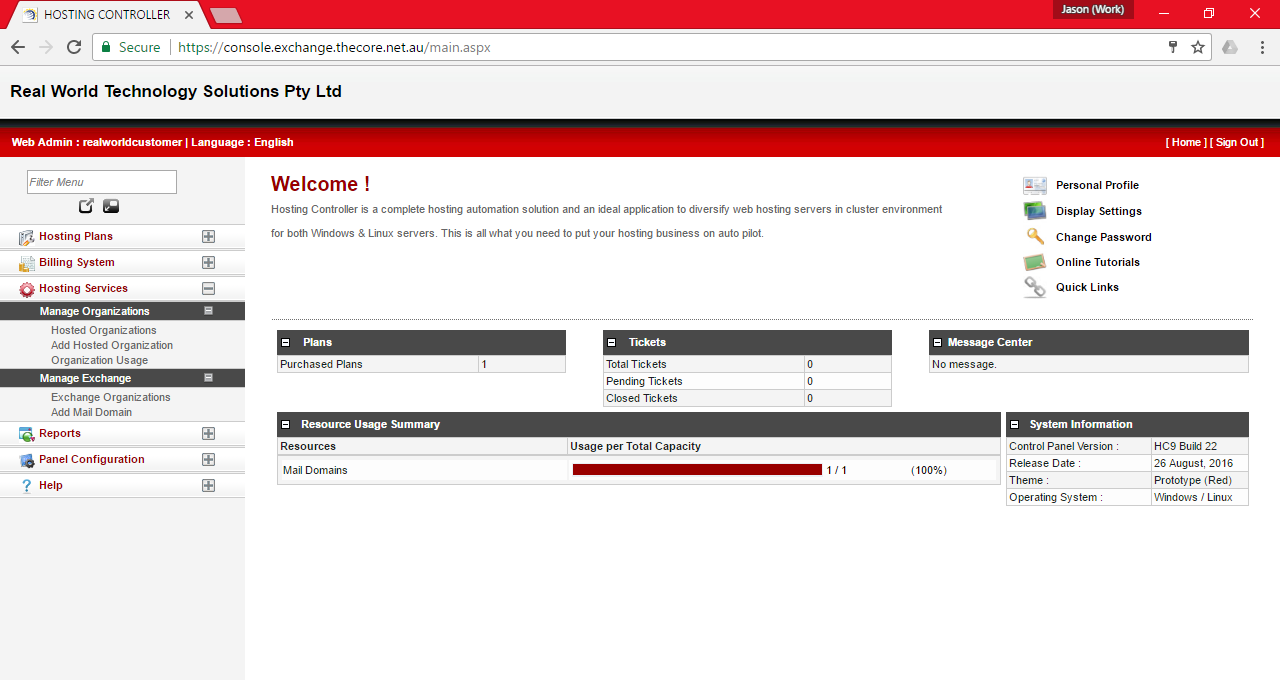
- On the left hand side navigation pane, under Hosting Services > Manage Exchange, click the option Exchange Organizations. You will then see information regarding your usage of your email environment.
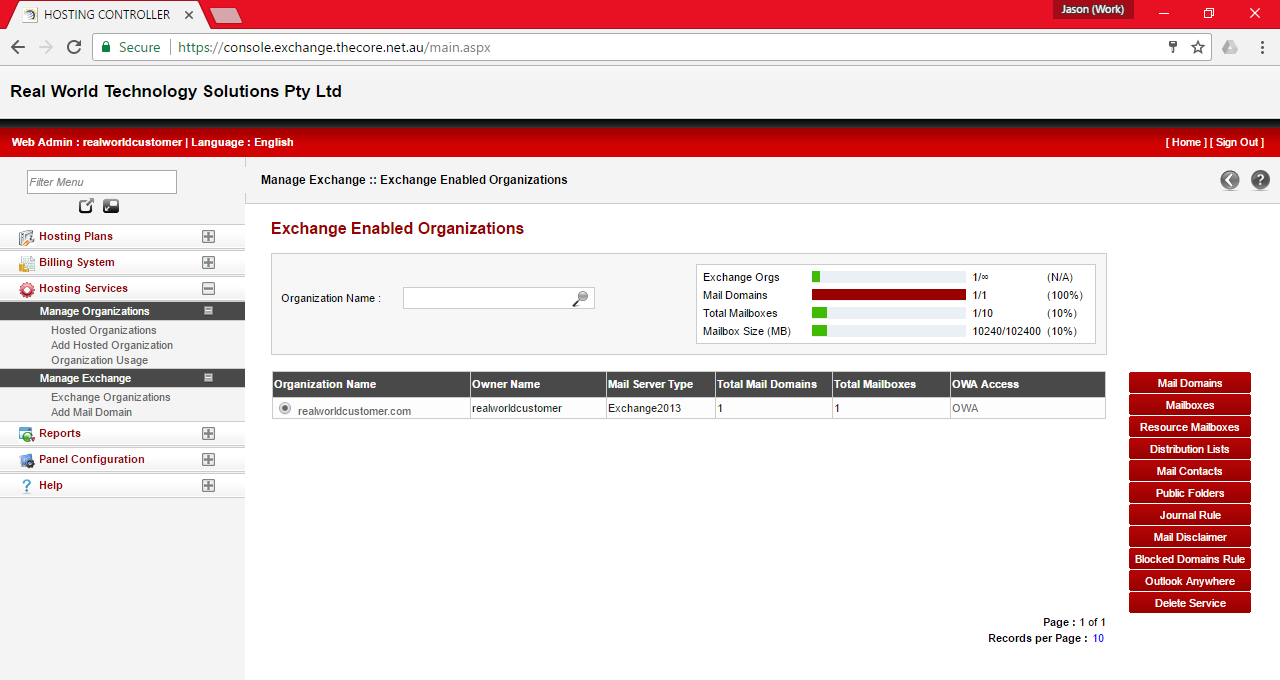
- At the far right side of this page, a number of buttons allow you to manage various aspects of your email environment. Locate and click Distribution Lists to view all of the distribution lists in your email environment.
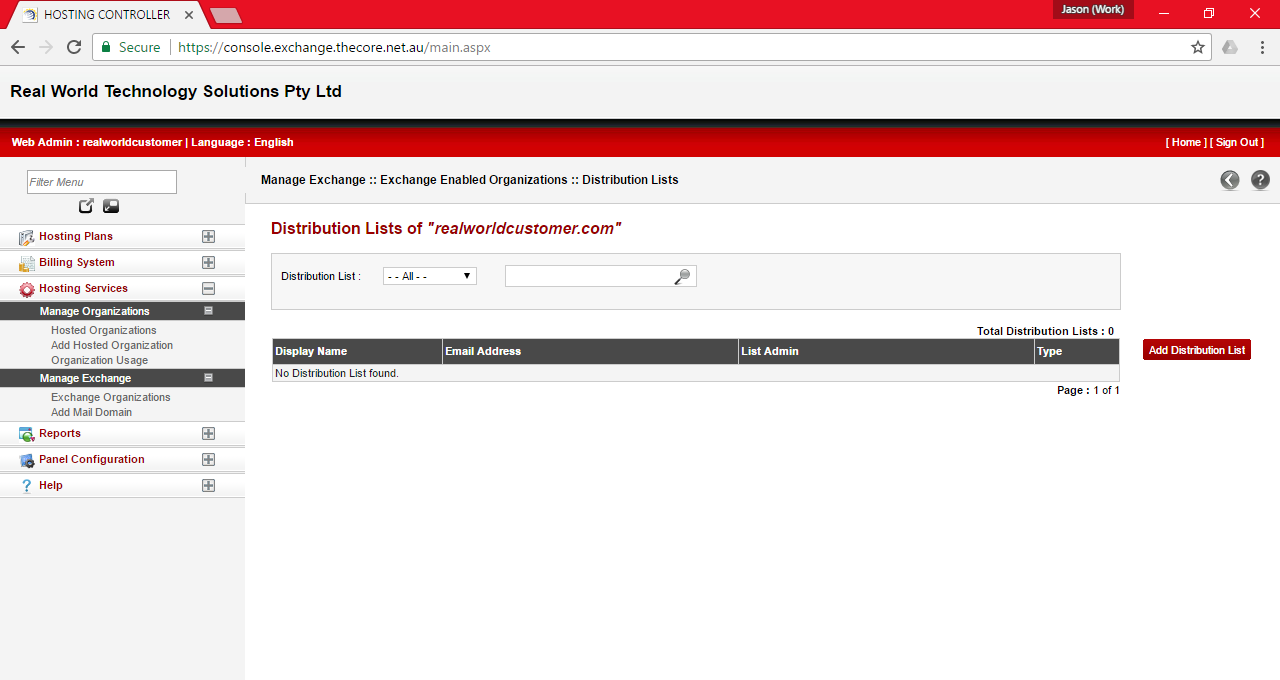
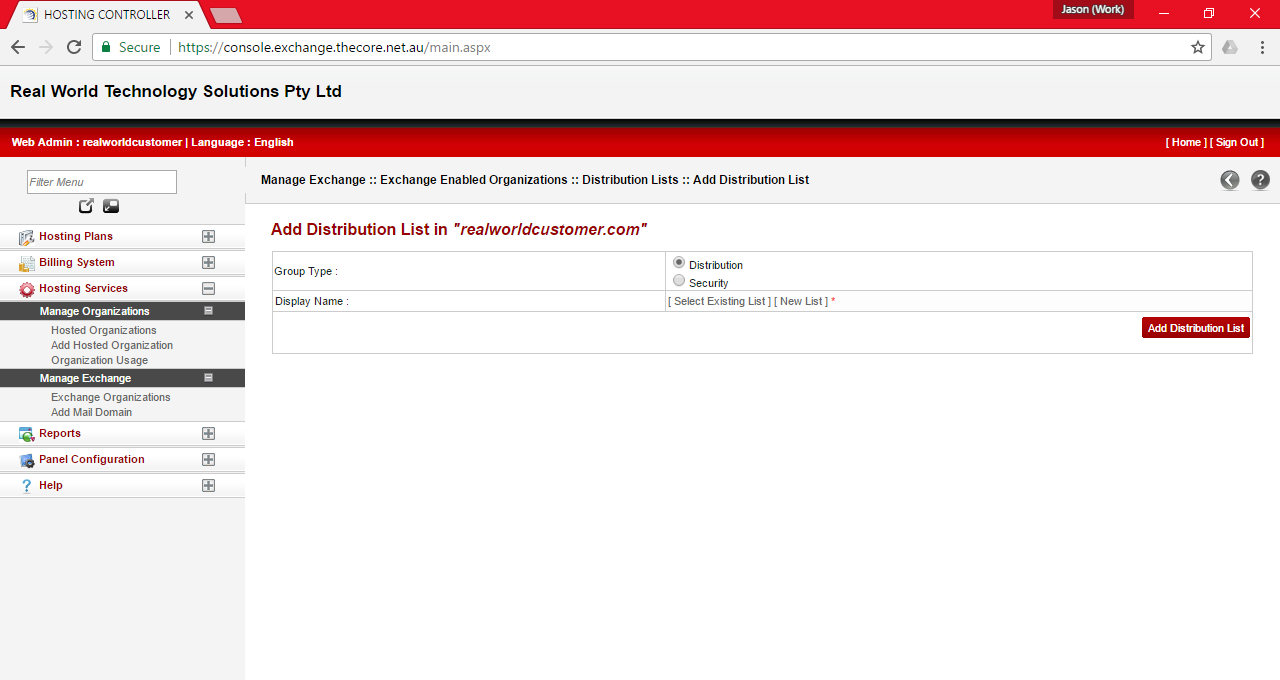
- To add a new distribution list, click the Add Distribution List button located at the far right of the page. The Add Distribution List in "emaildomain" page will be shown.
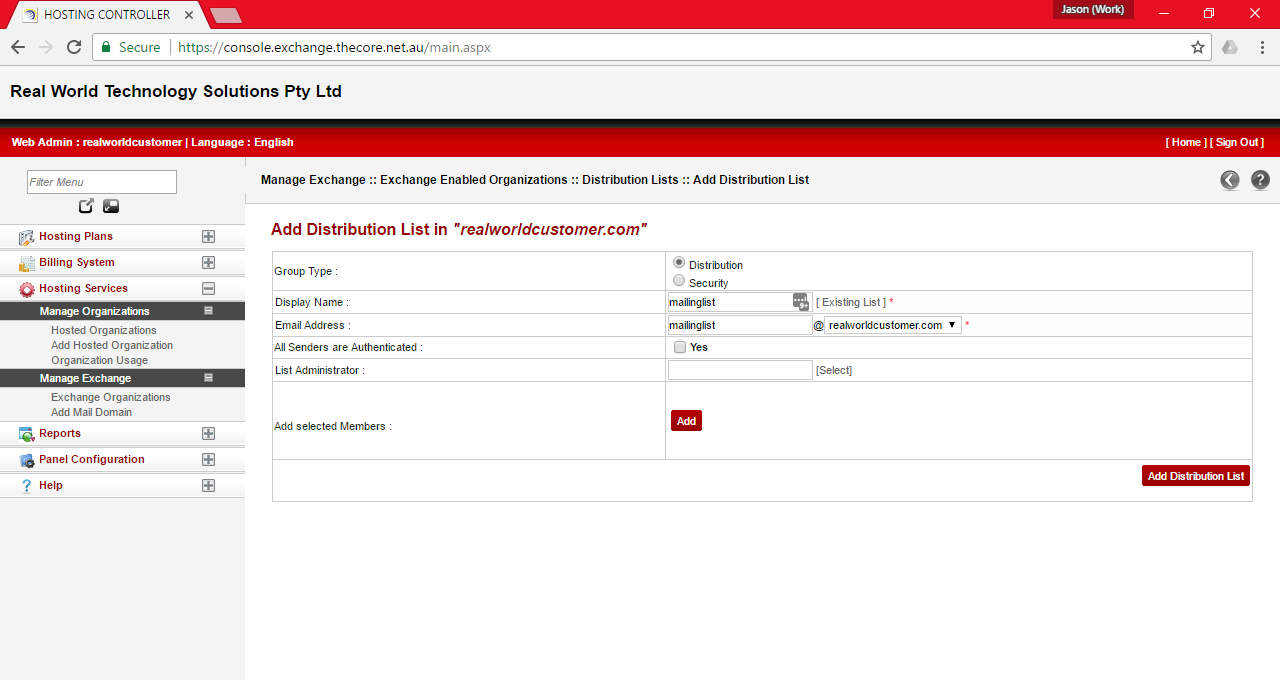
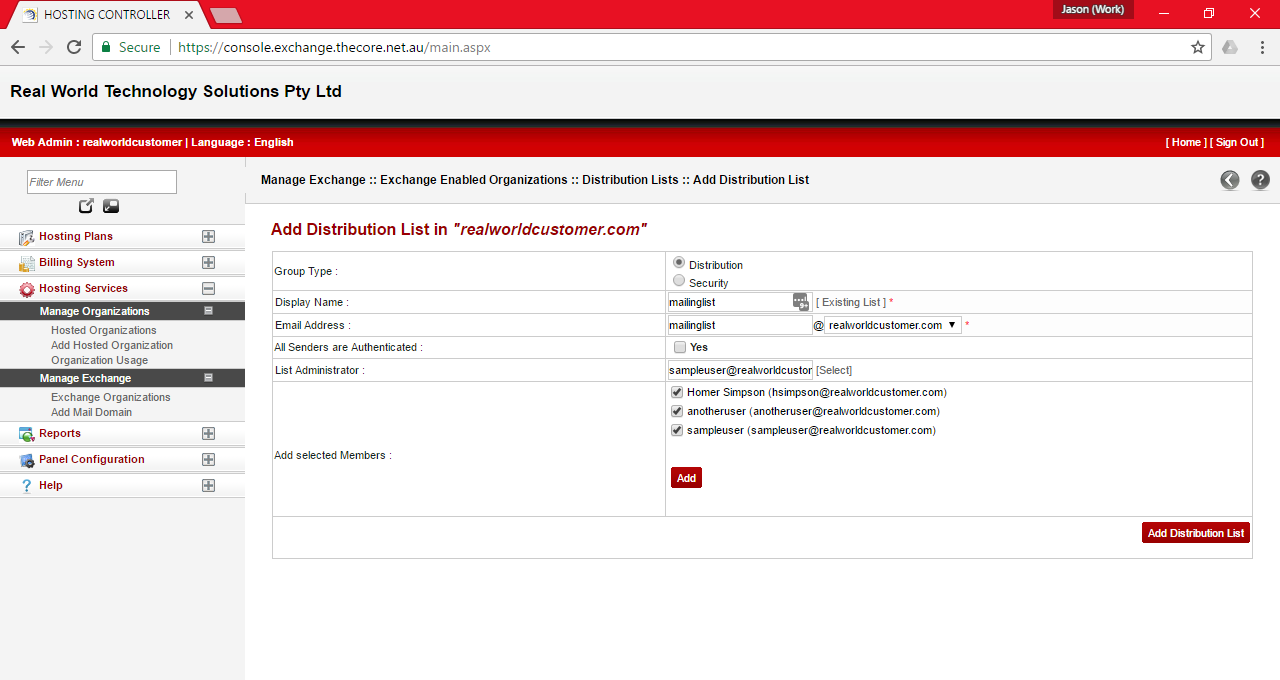
- In the Group Type area, ensure Distribution is selected. In Display Name click the [New List] link. The Display Name area will change, and additional options below it will be displayed.
- In the Display Name area, type in the name the would would like the distribution list to have. In the Email Address area, type in the email address name you would like the distribution list to have. Next to List Administrator, click the [Select] link.
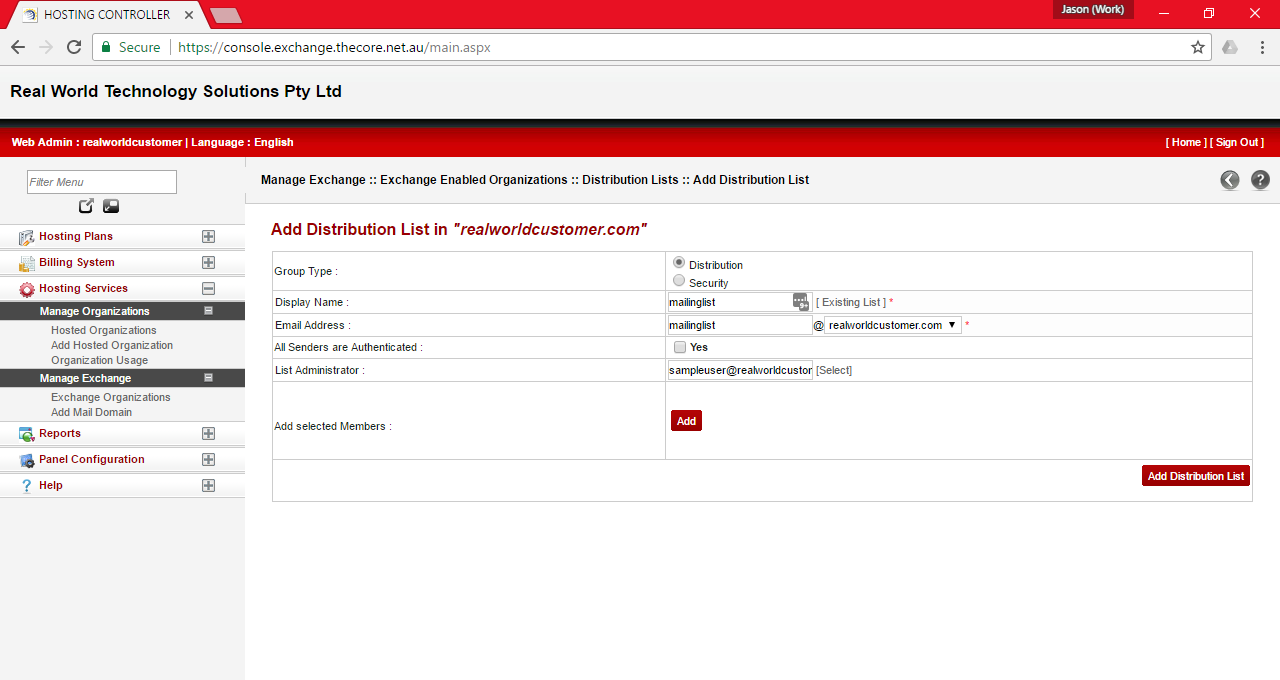
- In the Add List Administrator selection window that appears, choose one mailbox within your email organisation, and then click the Add button.

- Returning to the Add Distribution List page, the selected mailbox will appear in the List Administrator area. In Add selected Members, click the Add button.
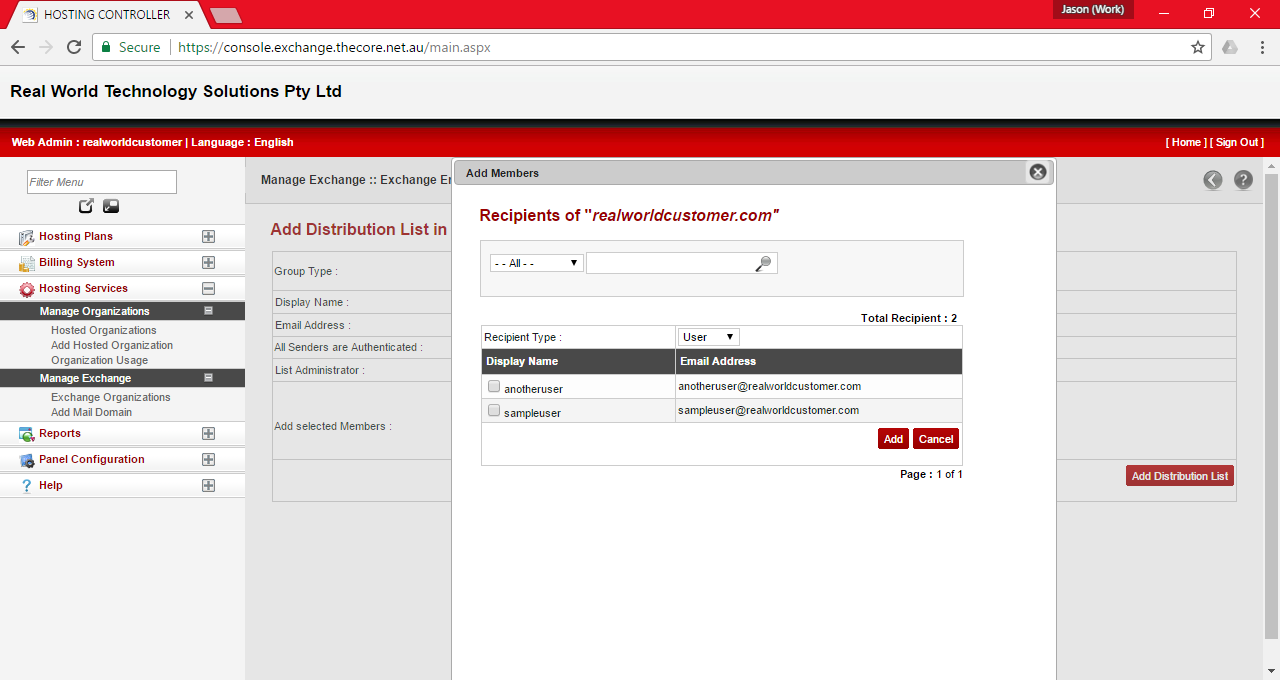
- The Add Members selection window then appears. Initially, it shows the mailboxes in your email organisation that can be added as members to the distribution list you are creating. Place a check mark in the area before the listed mailboxes that you would like add to this distribution list. When done, click the Add button to add them to the list.
- Returning to the Add Distribution List page again, if you have mail contacts that you would like to add to this distribution list, in Add selected Members, click the Add button again.
- The Add Members selection window then appears. It again shows the mailboxes in your email organisation that can be added as members to the distribution list you are creating. Just above the list, in the Recipient Type area, pull down the option Contact to view a list of your email domains mail contacts instead of mailboxes.
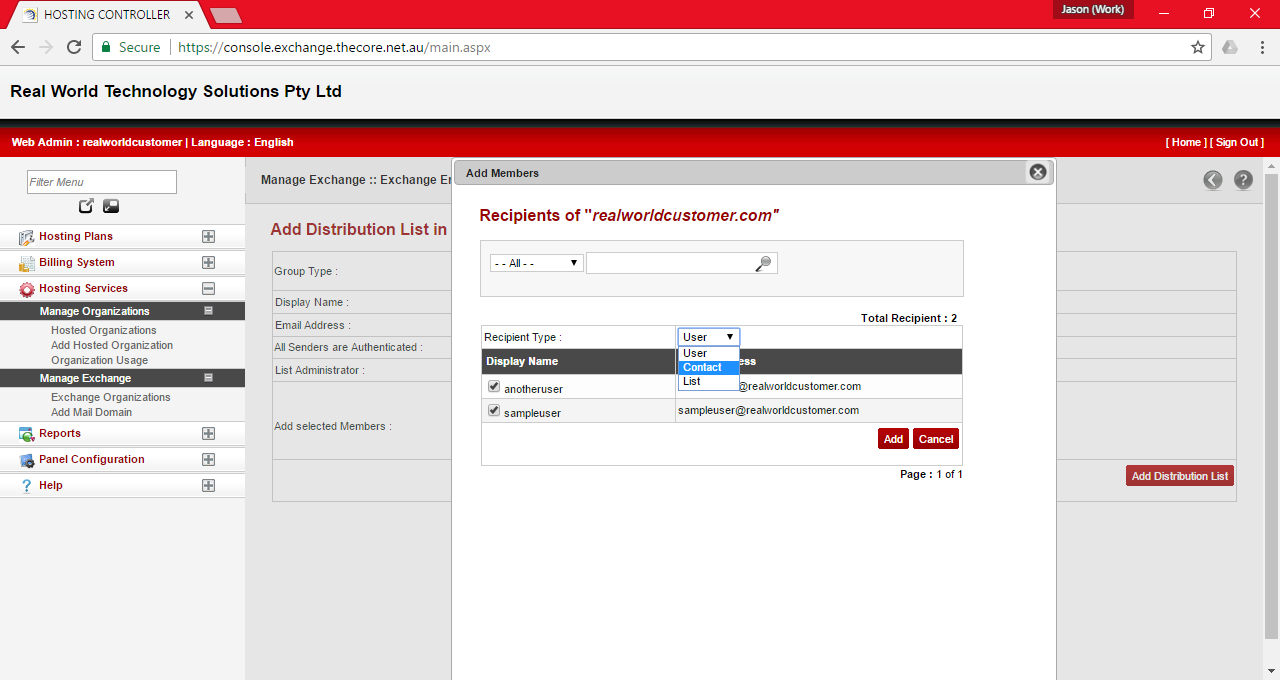
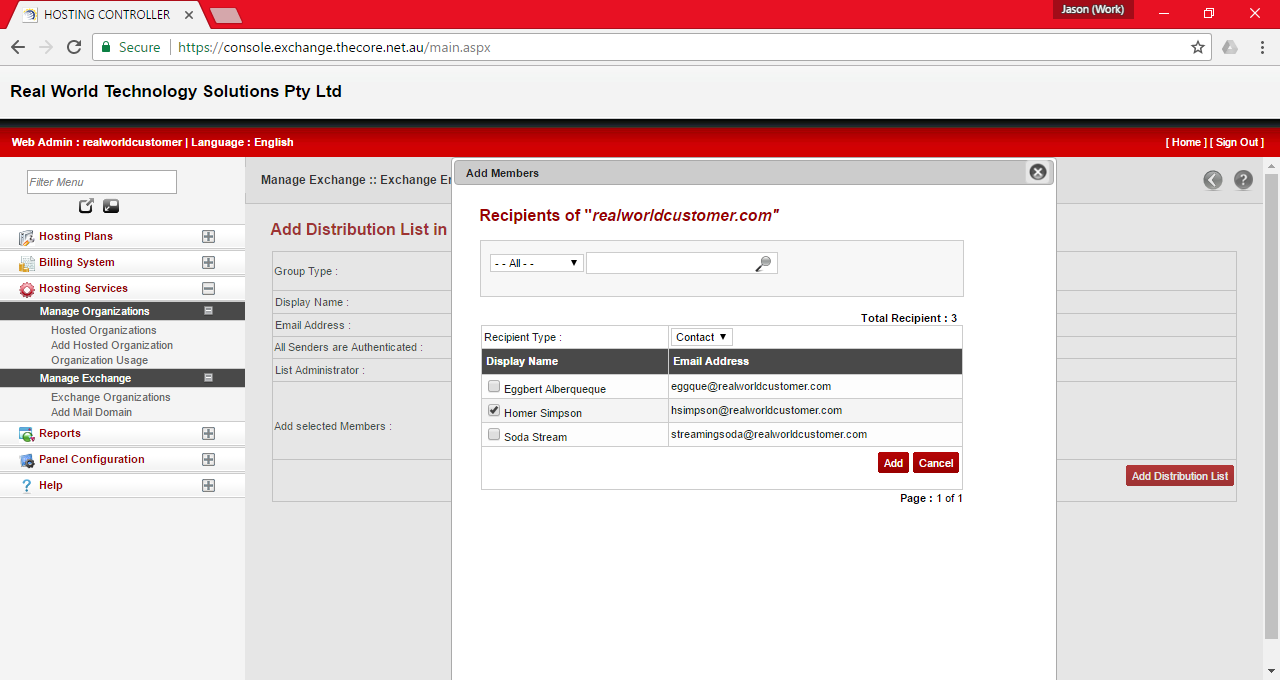
- Place a check mark in the area before the listed mail contacts that you would like add to this distribution list. When done, click the Add button to add them to the list.
- Returning to the Add Distribution List page again, in the Add selected Members area, you will have a list of mailboxes and mail contacts that you have added to the list. Click the Add Distribution List button to create the list.
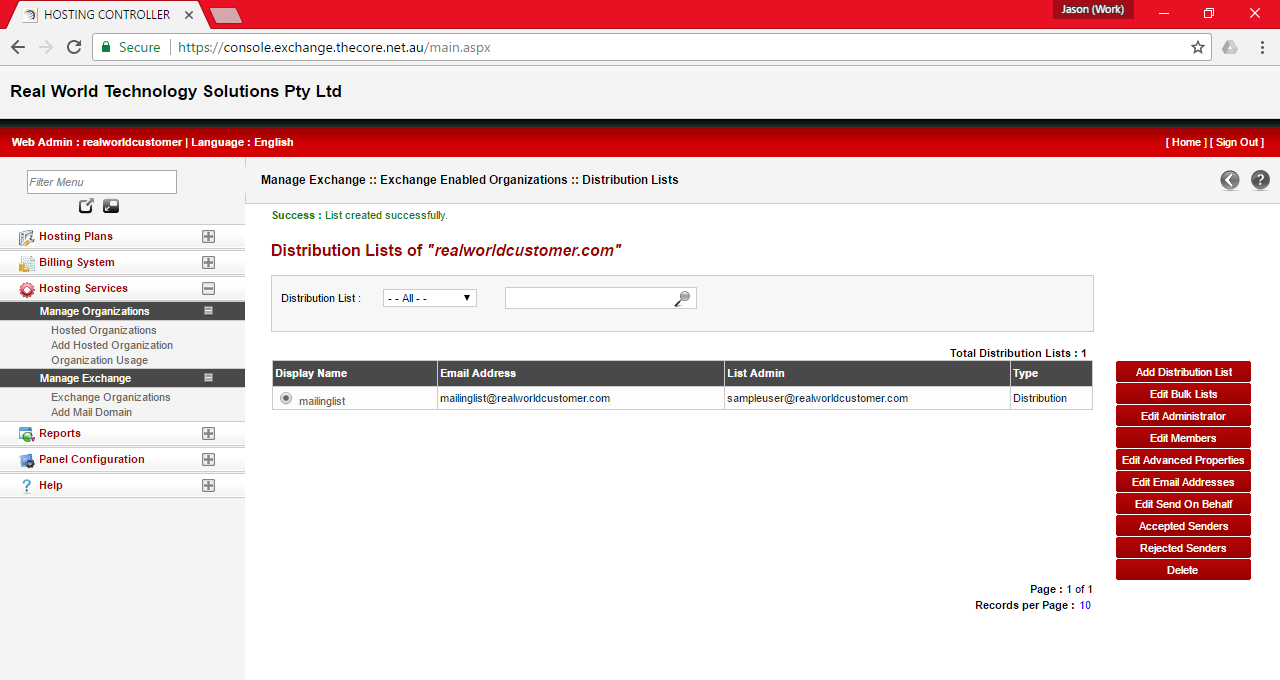
- If the distribution list has been created successfully, a message will display near the top of the page that will indicate such, and the display will show a list of all distribution lists, including the newly created one too. If the email address name is already used elsewhere, a message will indicate a failure. Retry a different email address name a successful mail contact is created.
- To add another distribution list, repeat steps 5 to 15 for each additional distribution list that you would like to create.
- When done creating distribution lists, you can click the Sign Out link at the top of the page to exit the email management site.
Comments
0 comments
Please sign in to leave a comment.